
Making ice cream at home is like creating a little magic in your kitchen. You control the flavors, avoid artificial additives, and save money—store-bought pints cost $5-$10, while homemade can be under $3. Plus, it’s a chance to impress friends or family with a dessert that’s 100% yours. Don’t worry if you’ve never cooked before; I’ll walk you through every step, and we’ll tackle any hiccups together.
Ingredients and Equipment
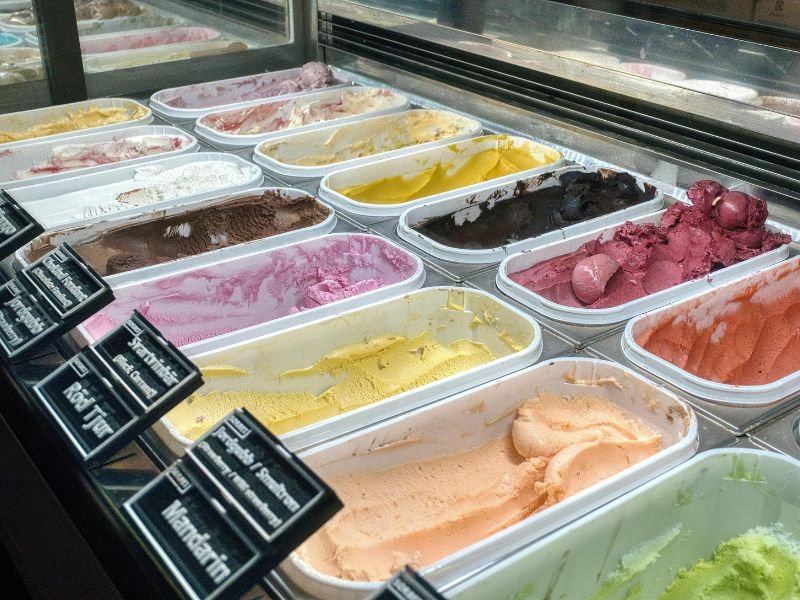
Before we look into the recipe, let’s gather everything you need. I’ve included options for both a classic vanilla ice cream (custard-based) and a 3-ingredient no-churn version for simplicity. The main ingredient in all ice cream is cream, which gives it that rich, smooth texture—think of it as the heart of the dessert.
Ingredients for Classic Vanilla Ice Cream (Makes about 1 quart)
Heavy Cream (2 cups): This is the star, providing the creamy base. Find it in the dairy aisle (about $3-$5).
Whole Milk (1 cup): Adds smoothness without making it too heavy. Use full-fat for best results ($1-$2).
Granulated Sugar (¾ cup): Sweetens the ice cream. Regular white sugar works fine ($0.50-$1).
Egg Yolks (4 large): Create a custard for richness and stability. Use fresh eggs ($0.50-$1 for a dozen).
Vanilla Extract (1 tablespoon): Adds classic flavor. Pure extract is best, not imitation ($2-$5).
Salt (pinch): Enhances sweetness—table salt is okay ($0.10).
Ingredients for 3-Ingredient No-Churn Ice Cream
Heavy Cream (2 cups): The creamy foundation.
Sweetened Condensed Milk (14 oz can): Sweetens and thickens without cooking ($2-$3).
Vanilla Extract (1 teaspoon): For flavor.
Equipment
Mixing Bowls: Medium-sized for mixing ingredients ($5-$10).
Whisk or Electric Mixer: For whipping cream and mixing custard ($10-$20 for a basic hand mixer).
Saucepan: Medium-sized for heating the custard ($10-$15).
Spatula: To stir and scrape ($2-$5).
Ice Cream Maker (Optional): For classic ice cream, a basic model like Cuisinart costs $50-$100. Freeze the bowl 24 hours ahead.
Freezer-Safe Container: A loaf pan or plastic container with a lid ($5-$10).
Spoon or Ice Cream Scoop: For serving ($2-$5).
Total Cost: $20-$30 for ingredients and basic tools (many reusable). If you skip the ice cream maker, you’re looking at under $15.
Question from Ingredients: What’s the difference between heavy cream and whole milk?
Heavy cream has more fat (36-40%), making ice cream rich and smooth, while whole milk (3.5% fat) lightens the texture. Using only cream would be too heavy, and only milk wouldn’t be creamy enough.
Step-by-Step Recipe: Classic Vanilla Ice Cream
This recipe uses a custard base, which is a bit more involved but gives a professional, creamy result. Don’t worry—I’ll explain each step like I’m right there with you.
Step 1: Prepare Your Ingredients and Equipment
Measure out all ingredients before starting. Crack 4 eggs and separate the yolks (save whites for another recipe, like omelets). If using an ice cream maker, ensure the freezer bowl is fully frozen (24 hours in the freezer). Set up a mixing bowl, whisk, and saucepan. This prep keeps you organized and prevents scrambling mid-recipe.
Question from Step 1: How do I know if my ice cream maker bowl is frozen enough?
Shake it gently—if you don’t hear liquid sloshing, it’s ready. It should feel ice-cold and solid.
Step 2: Make the Custard Base
In a medium saucepan, combine 2 cups heavy cream, 1 cup whole milk, and ¾ cup sugar. Heat over medium heat, stirring with a spatula until the sugar dissolves and the mixture is warm (about 5 minutes, 160°F if you have a thermometer). Don’t let it boil—it should be steamy but not bubbling. In a separate bowl, whisk the 4 egg yolks with a pinch of salt until smooth. Slowly pour ½ cup of the warm cream mixture into the yolks, whisking constantly to avoid cooking the eggs. This is called tempering. Pour the yolk mixture back into the saucepan and cook over low heat, stirring constantly, until it thickens slightly (5-7 minutes, 170°F). It should coat the back of a spoon but not boil. Remove from heat and stir in 1 tablespoon vanilla extract.
Question from Step 2: What happens if my custard curdles?
If it gets lumpy (from overheating), strain it through a fine mesh sieve ($5-$10) to remove bits, or blend it briefly. It’s still usable!
Step 3: Chill the Custard
Pour the custard into a clean bowl and let it cool to room temperature (about 30 minutes). Cover with plastic wrap, pressing it against the surface to prevent a skin from forming. Refrigerate for at least 4 hours or overnight. This step ensures a smooth texture when churning. If you’re in a rush, place the bowl in an ice bath to cool faster (15-20 minutes).
Question from Step 3: Why does the custard need to chill for so long?
Chilling thickens the mixture and ensures it freezes evenly in the ice cream maker, preventing ice crystals (which make ice cream grainy).
Step 4: Churn the Ice Cream
Pour the chilled custard into your ice cream maker and churn according to the manufacturer’s instructions (usually 20-30 minutes). The mixture will turn into a soft-serve consistency. If you don’t have an ice cream maker, skip to the no-churn recipe below for an alternative.
Question from Step 4: Can I churn the ice cream without an ice cream maker?
Yes, try the no-churn recipe below, or freeze the custard in a shallow pan, stirring every 30 minutes for 2-3 hours to mimic churning.
Step 5: Freeze and Harden
Transfer the churned ice cream to a freezer-safe container (like a loaf pan). Cover tightly with a lid or plastic wrap. Freeze for 4-6 hours to harden. This step gives it the scoopable texture you love. Check it after 4 hours—if it’s too hard, let it sit at room temperature for 5 minutes before scooping.
Question from Step 5: Why is my ice cream too hard to scoop?
It may have frozen too long or your freezer is too cold. Let it soften at room temperature for 5-10 minutes before serving.
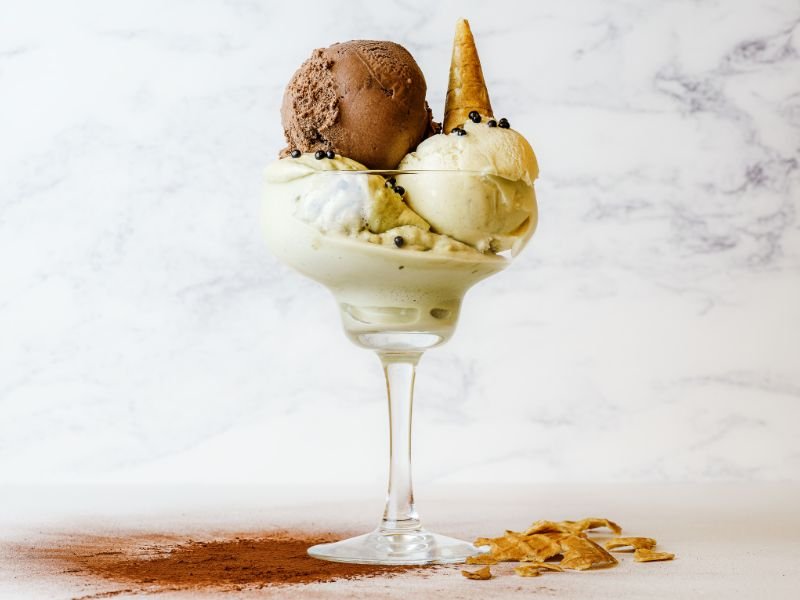
Step 6: Serve and Enjoy

Scoop your ice cream into bowls or cones ($2-$5 for cones). Add toppings like sprinkles ($1-$2) or chocolate syrup ($3-$5) if you like. Store leftovers in the freezer for up to 2 weeks, but cover tightly to avoid freezer burn.
Question from Step 6: How do I prevent freezer burn on my ice cream?
Press plastic wrap against the surface before sealing the container, and store it in the back of the freezer where it’s coldest.
3-Ingredient No-Churn Ice Cream Recipe
If you don’t have an ice cream maker or want something simpler, this no-churn version is perfect for beginners. It takes less time and still tastes amazing.
Step 1: Whip the Cream
In a large mixing bowl, use a whisk or electric mixer to whip 2 cups heavy cream until stiff peaks form (3-5 minutes). It should look like whipped cream you’d put on pie—thick but not buttery. Be patient; it’s a bit of a workout!
Question from Step 1: What are stiff peaks?
Stiff peaks mean the cream holds its shape when you lift the whisk, forming peaks that don’t flop over.
Step 2: Mix in Condensed Milk and Vanilla
In another bowl, combine 1 can (14 oz) sweetened condensed milk and 1 teaspoon vanilla extract. Gently fold this into the whipped cream with a spatula until fully mixed. Don’t stir too hard—you want to keep the airiness.
Question from Step 2: What does ‘fold’ mean in cooking?
Folding is a gentle mixing technique where you scoop and turn the mixture to combine without deflating the whipped cream.
Step 3: Freeze
Pour the mixture into a freezer-safe container. Cover tightly and freeze for 6-8 hours. No churning needed! Scoop and serve like the classic version.
Question from Step 3: Can I add flavors to the no-churn ice cream?
Yes! Mix in ½ cup crushed cookies, fruit puree, or chocolate chips before freezing for variety.
Additional Tips For A Perfect Ice Cream
Start Small: Try the no-churn recipe first—it’s easier and needs fewer tools.
Clean Workspace: Keep your kitchen tidy to avoid stress. Wash dishes as you go.
Experiment: Once you’re comfortable, add flavors like cocoa powder ($3) or strawberries ($4-$5).
Be Patient: Ice cream takes time to freeze, but the wait is worth it.
Ask for Help: If you’re unsure, ask a friend or family member to join you—it’s more fun!
Frequently Asked Questions
How do you make ice cream at home?
Follow the classic or no-churn recipes above. The classic involves making a custard, chilling, churning, and freezing, while the no-churn method whips cream, mixes with condensed milk, and freezes.
What are the ingredients for making ice cream?
For classic ice cream: heavy cream, whole milk, sugar, egg yolks, vanilla extract, and salt. For no-churn: heavy cream, sweetened condensed milk, and vanilla extract.
How do you make a 3-ingredient ice cream?
Whip 2 cups heavy cream, fold in 14 oz sweetened condensed milk and 1 teaspoon vanilla extract, then freeze for 6-8 hours in a covered container.
What is the main ingredient of ice cream?
Heavy cream is the main ingredient, providing the rich, creamy texture essential for ice cream.
Can I make ice cream without eggs?
Yes, the no-churn recipe skips eggs, using condensed milk for sweetness and structure.
How long does homemade ice cream last?
Up to 2 weeks in a tightly sealed container in the freezer. Eat it sooner for the best flavor.
What if I don’t have a mixer?
Whisk by hand for the no-churn recipe—it takes longer (5-7 minutes) but works just as well.
Conclusion
Making ice cream at home is a fantastic way to kick off your culinary journey. Whether you go for the classic custard-based recipe or the super-simple 3-ingredient no-churn version, you’ll create a delicious treat that’s sure to impress. My first batch wasn’t perfect, but it was so satisfying to taste something I made from scratch. Follow these steps, take your time, and don’t be afraid to make mistakes—that’s how you learn! Grab your ingredients, set up your kitchen, and enjoy the process of creating your very own ice cream in 2025.


